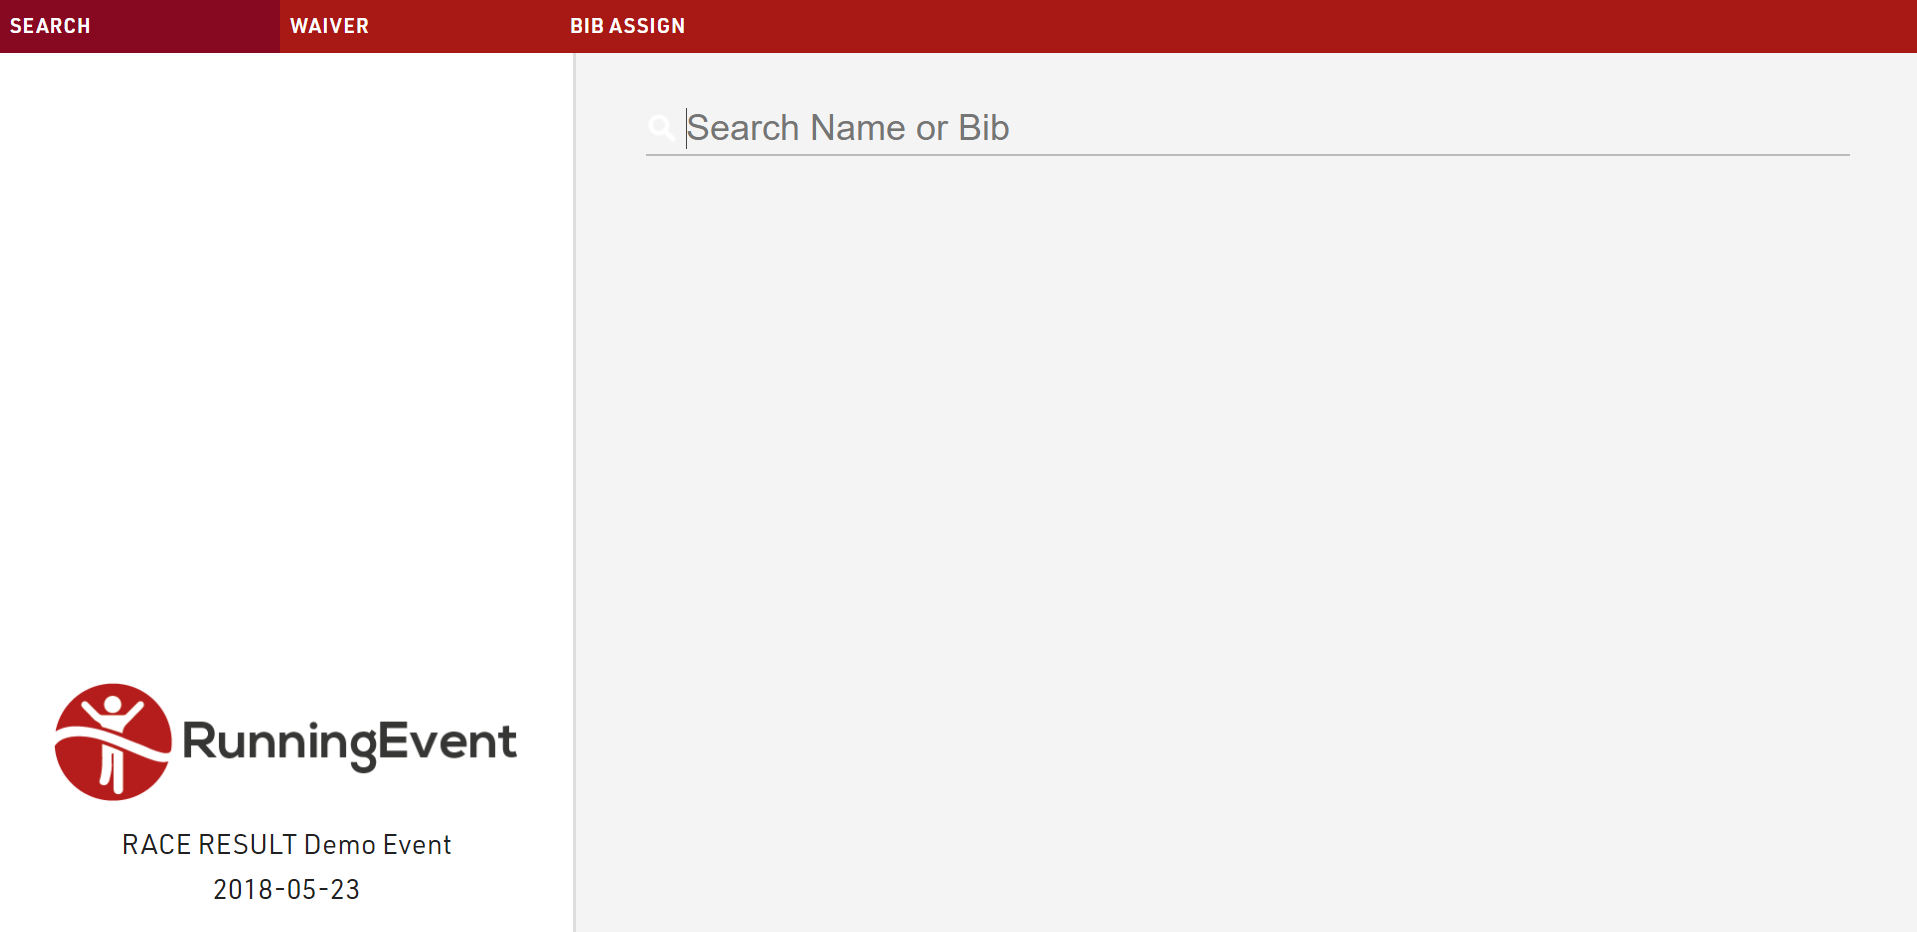
The Kiosks provide a flexible tool for looking up and editing participant data during an event for example at registration, or giving access to individuals to easily lookup and edit fields without providing full access to RACE RESULT 12.
Within an event file multiple templates for kiosks can be created, each of which can be accessed by a unique URL, this allows different templates to be defined for different purposes.

The given name to each kiosk will be shown in participants' history, when changes are made: in this way, you can always retrieve from which kiosk (and user) a change has been made.
Basic Settings
Kiosks are created from templates which define what is displayed, templates can be imported from other event files or easily copied to create other kiosks. Each should be given a unique name, and each kiosk will then be accessible via a unique URL which contains the kiosk name and a unique key.

Kiosks can be enabled or disabled, and can also be enabled via a time range, the title is the label of the window displayed in the browser.
The option for Transponder Assignment Mode applies to any edit step which is used to assign the Transponder1 or Transponder2 fields, this has 3 options to handle what happens if the a transponder is assigned twice within an event.
For advanced customisation it is also possible to apply custom CSS to the display.
Steps
Each kiosk can have multiple steps defined for different purposes which will automatically progress in order. Each step is labelled and the labels for each step are shown in the top navigation bar. With the exception of the search, steps can be rearranged by clicking and dragging, or deleted if not required.

There are 2 types of step, and each step is separated into display fields on the left and action on the right.
Search
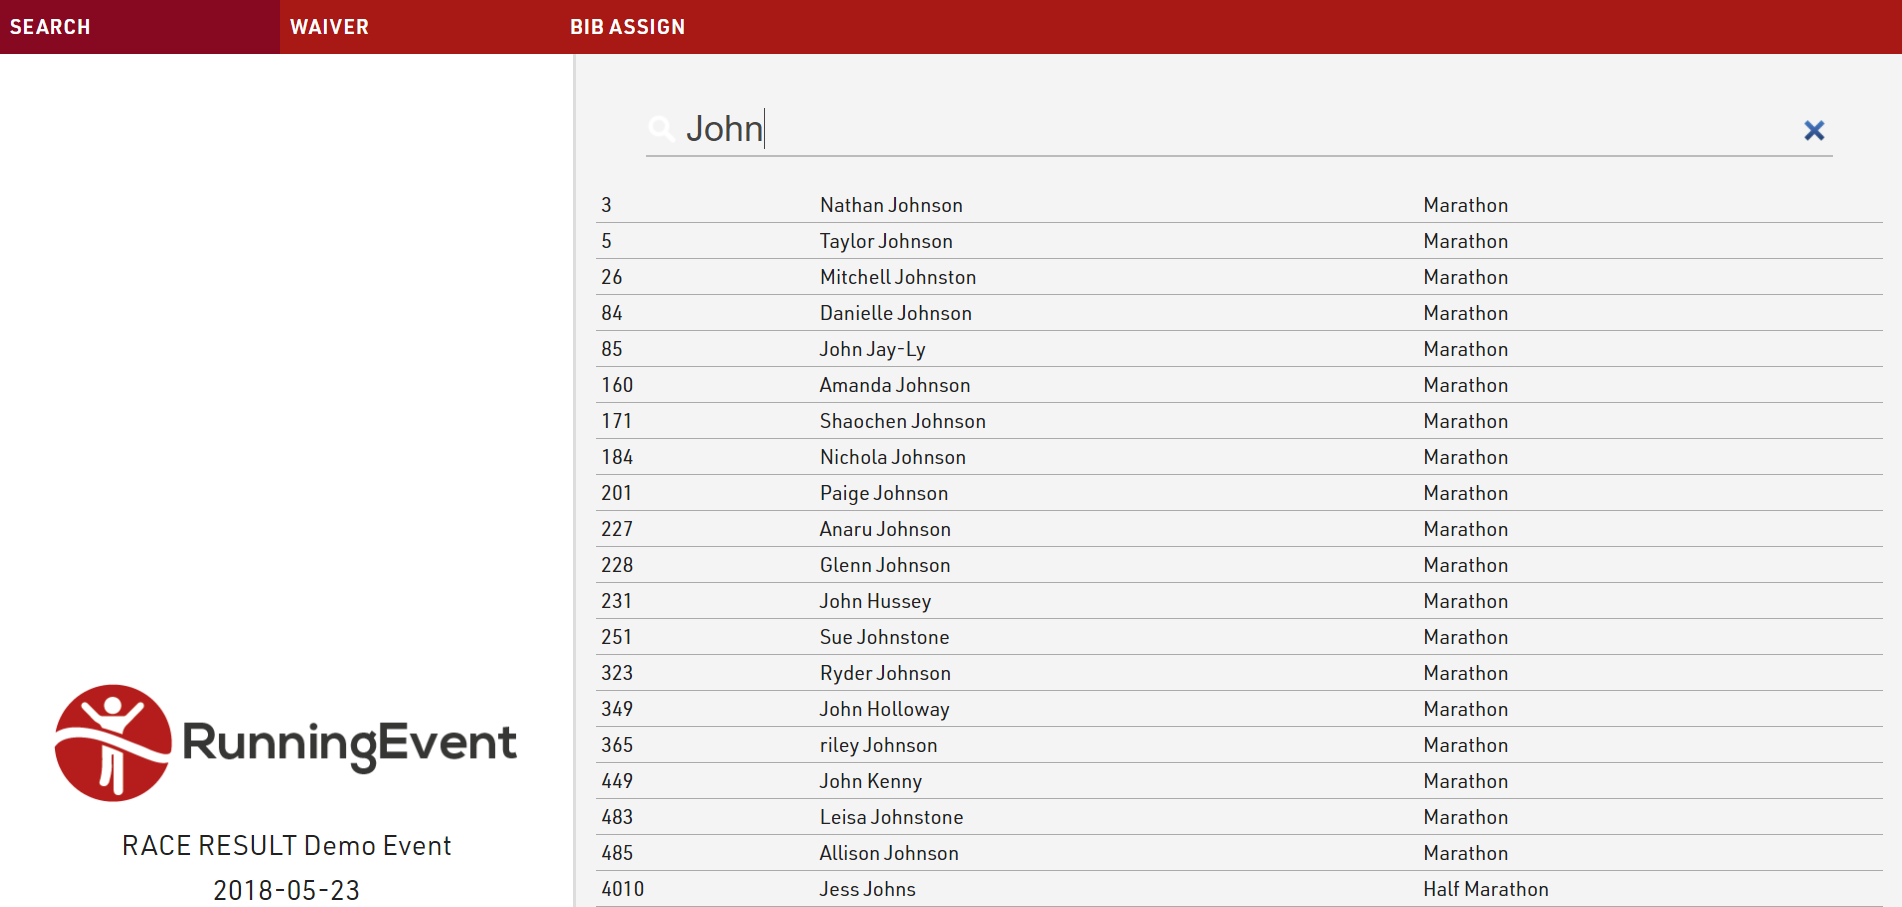
The first step of a kiosk is always a Search, this is where participants are looked up.

The step is first given a label to display, and a placeholder can be defined for the search input. If required a filter can be applied to the search to only return certain participants, useful for when multiple kiosks may be setup for different purposes.

Enabling Auto select single search results will mean the kiosk automatically progresses to the next step if only a single search result is returned. This can be useful if entering or scanning a unique registration number for example.
The fields which should be searched must be specified, these can be any field from the event file, search fields may be hidden from the results list if it is not applicable to show. The search will only return a result if the searched text is matched to one of these pre-defined fields.

For the search step the display fields may currently only be taken from basic Event settings or pictures stored in the event file, such as an event logo.

Edit
An edit step allows for editing of participant data, this can be taken from the default fields or additional fields. All changes are only saved after clicking Finish at the end of the kiosk which will then also return to the search.

You can optionally display a title and text at the top of the edit step, below this the editable fields will be displayed.

You can add as many editable fields to each step as required, each edit field has a label and can be set to mandatory if it should be required to progress.

When using Transponder1 or Transponder2 it is additionall possible to connect to a decoder, USB Timing Box or Management Box directly (requires the RRWS to be running on the computer running the kiosk) the so transponders can be scanned in to avoid errors.

Additional data inputs are available through either the special functions or extended settings menu.
Special Functions
Hide Current Value - hides the existing value in that field allowing it to be easily overwritten without having to first delete the existing value.
Upload Picture - Allows uploading an image file which will be stored on the server. The field will display a link to the location of the file where it can be downloaded, or the image can be used elsewhere later on. This works best with mobile devices which will allow you to take a picture directly using the camera.
Signature - creates a drawable input to capture signatures. With this an image of the signature is saved and stored on the server, similar to Upload Picture a link to the image will be stored in the field. The signature input works best with touchscreen displays.
If working offline then the images/files will be saved to the server inside the RACE RESULT installation folder.

Extended Settings
For edit fields you can define a validation rule and validation error message for each field, this should be written as a standard Expression.
The kiosk will only allow the user to proceed to the next step or save the registration if the validation rule is met.
Additionally you can configure individual fields to use an input from either a BLE Reader or Barcode / QR Scanner when accessing the kiosk from the RACE RESULT EventTools app.
You should only define a maximum of one input of each type for each step.
Display Fields
For the display fields you can display any field from your event file in addition to the settings or picture options, these can be written as the field name or a standard Expressions or Functions

After Save Actions
The After Save Actions are saved at the completion of the kiosk after all other fields have been saved. This allows for additional actions to be completed which can store useful information about the participant.
After Save Actions can be filtered to only apply to specific participants.

Save Value
Save Value allows saving of data to an additional field, the value which should be stored should be written as a standard Expression and may use any additional Functions or User-Defined Fields / Functions. This could for example be used to set a checkbox to true or a timestamp to a textfield using the now() function.
Save Certificate
The selected certificate will be generated and stored on the server as a link in the desintation field, note that if working offline these will be stored to the local server inside the RACE RESULT installation folder. When choosing a certificate the value defines which template should be created. This may be useful for digital waivers which can be timestamped with the creation time and include the signature captured in an edit step.
Print Certificate
The kiosk can also print a certificate layout after save, this requires the RACE RESULT Web Server to be running on the computer running the kiosk.
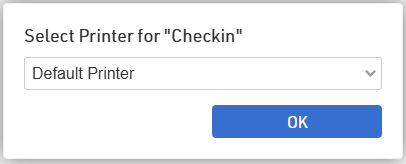
When selecting which certificates to print you can choose to either always use the default printer, or you can select which printer to use for each certificate on the first print.

When selecting the printer for a certificate a dialog will be shown on the first print attempt to select a printer for the corresponding certificate. This setting is saved locally in the browser window until the page is re-loaded.

Send E-mail
Send E-mail will trigger the sending of the selected Email/SMS Template which could be used for registration confirmation.